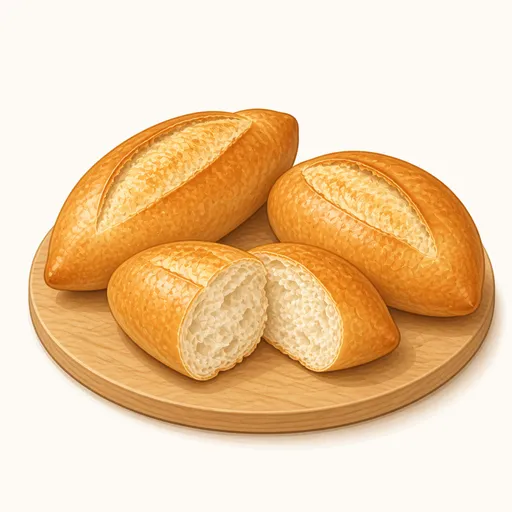
French baguette
The baguette is France's iconic long loaf, made from nothing more than flour, water, salt and yeast, yet it has a crackly golden brown crust and a slightly chewy crumb full of irregular holes. This recipe uses a poolish (a loose yeasted starter fermented overnight) to give the bread a deep wheat aroma and natural sweetness.
- Difficulty
- Hard
- Prep
- 40 min
- Cook
- 25 min
- Rising or chilling
- 16 hr
- Total time
- 17 hr 5 min
- Method
- Oven-baked

Ingredients
For the overnight starter (poolish)
For the main dough
Instructions
Step 1
The night before, stir 150 g all-purpose flour, 150 g water and 0.5 g instant yeast together in a lidded container until no dry flour remains, cover tightly and leave at room temperature for about twelve hours. Slow fermentation builds lots of flavor and gives the gluten a head start. The poolish is ready when it has doubled, the surface is full of bubbles and it's just starting to dip slightly in the middle.
Step 2
Tip the poolish into a large bowl, add 200 g water, 350 g all-purpose flour, 2.5 g instant yeast and 10 g salt, mix by hand, then knead on the counter for about eight to ten minutes. Thorough kneading builds a gluten network strong enough to hold gas and create a chewy crumb. The dough is ready when it's smooth and elastic and stretches into a nearly translucent windowpane without tearing.
Step 3
Place the dough in a lightly oiled bowl, cover tightly and let it ferment for about ninety minutes, and every thirty minutes lift one edge of the dough and fold it into the center, turning the bowl and repeating four times. These folds add strength to the dough without more kneading. It's ready when it has grown by about half, the top is domed and there are a few large bubbles.
Step 4
Turn the dough out onto the counter, use a bench scraper to divide it into three equal pieces, fold each one into a rectangle and roll it loosely into a short log, then cover with a towel and let them rest for about twenty minutes. This rest lets the gluten relax so the dough is easier to stretch out. The logs are ready when they've softened and slowly spring back when lightly pressed.
Step 5
Press each log flat, fold the top third down, then fold the top edge down to meet the bottom edge and pinch the seam firmly, then roll it under both palms from the middle out toward the ends until it's about thirty-five centimeters long. Rolling from the middle outward keeps the loaf even with tapered ends. The loaves are right when the surface is taut, the seam is sealed and the thickness is even all along their length.
Step 6
Place the loaves seam side down on parchment paper or a floured towel, pleat the towel between them to keep them upright, cover and let them proof for about forty-five minutes. The pleats help the loaves rise up instead of spreading out sideways. They're ready when they've visibly puffed and a fingertip dent slowly fills back about halfway.
Step 7
While the loaves proof, put an upside-down baking sheet on the middle rack and an empty metal pan on the bottom rack, and heat the oven to 240°C for at least thirty minutes. The hot sheet makes the bottom of the bread spring up strongly the moment it goes in. The oven is hot enough when the walls are clearly radiating heat and an oven thermometer reads the right temperature.
Step 8
Use a razor blade or a very sharp knife to make three or four diagonal slashes along each loaf, holding the blade at about a thirty-degree angle and cutting about half a centimeter deep. The slashes let steam escape in a controlled way so the loaf bursts open into a crisp ear. You've scored well when the slashes are even in length, overlap by a third and the cut edges open slightly.
Step 9
Slide the loaves onto the hot sheet, pour a cup of boiling water into the metal pan below and close the oven immediately, then bake at 240°C for 22 to 26 minutes. Steam keeps the crust soft for the first few minutes so the bread can rise as much as possible before the crust sets and crisps. The bread is done when the crust is a deep golden brown, the ears have opened clearly and the bottom sounds hollow when tapped.
Step 10
Move the baguettes to a rack and let them cool for at least thirty minutes before slicing. The crumb is still cooking from the heat inside, and cutting too soon makes it wet and gummy. You'll know they're ready when the crust crackles softly and the bottom is only just warm.
Equipment
- Oven
- Mixing bowl
- Kitchen scale
- Bench scraper
- Baking sheet
- Parchment paper
- Plastic wrap
- Wire cooling rack
- Refrigerator
Tips
- All-purpose flour has a moderate protein content close to French baguette flour, giving a thinner, crisper crust than high-protein bread flour.
- If you don't have a razor blade, you can use sharp scissors to snip small angled cuts along the loaf.
- If your kitchen is warmer than thirty degrees Celsius, use cold water when mixing the dough and shorten the poolish fermentation to about eight hours.
Storage
Baguettes are best on the day they're baked and should be kept in a paper bag at room temperature. You can cut them into pieces, wrap tightly and freeze for up to a month; to serve, just reheat at 200°C for about eight minutes and the crust will be crisp again.
Common problems and how to fix them
- The bread didn't rise well and the slashes didn't open into ears.
- The loaves overproofed or the oven didn't have enough steam. Shorten the final proof, angle the blade more when scoring and remember to pour boiling water into the pan as soon as the bread goes in.
- The crust is thick, hard and pale.
- The oven wasn't hot enough or the bread baked too long at too low a temperature. Preheat the oven with the sheet inside for a full thirty minutes and check the temperature with an oven thermometer.
This recipe is based on the common ratios for this bake and is written entirely in our own words.