Éclairs
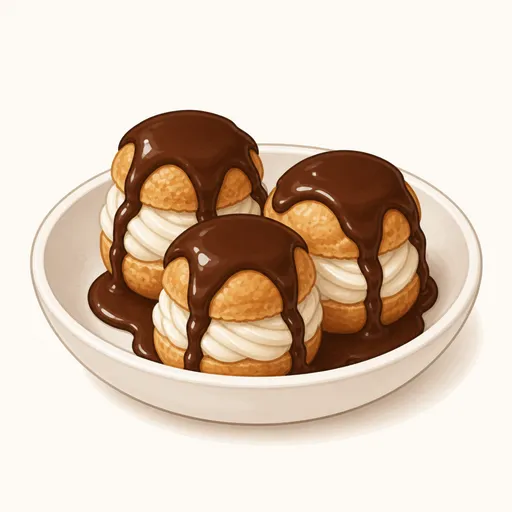
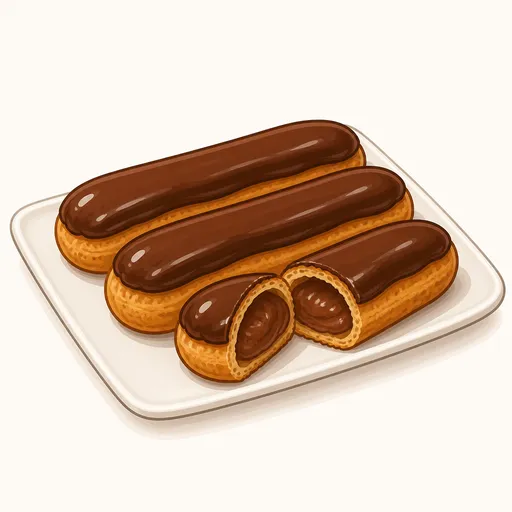
The éclair is France's long, slender cream puff: a hollow, lightly crisp choux shell (a cooked dough that puffs up in the oven) piped full of silky chocolate pastry cream and dipped in a glossy chocolate glaze. The name means "lightning," because people tend to eat them in a flash. Piping the shells takes a little practice, but every step is straightforward.
- Difficulty
- Hard
- Prep
- 1 hr
- Cook
- 50 min
- Rising or chilling
- 2 hr 20 min
- Total time
- 4 hr 10 min
- Method
- Oven-baked
Ingredients
For the choux shells
For the chocolate pastry cream
For the chocolate glaze
Instructions
Step 1
Heat 500 g whole milk until almost boiling, whisk 100 g egg yolks with 100 g granulated sugar and 40 g cornstarch until pale, then pour in the milk and cook again over medium heat until the cream thickens and bubbles. Take the pan off the heat and stir in 80 g finely chopped dark chocolate and 30 g unsalted butter until melted. Adding the chocolate while the cream is hot lets it melt completely smooth. The cream is ready when it's glossy, evenly brown and falls from the whisk in a thick ribbon.
Step 2
Pour the chocolate cream into a shallow container, press plastic wrap onto the surface and refrigerate for about two hours. The cream needs to be cold so it's thick enough to pipe into the shells. It's ready when it's chilled all the way through and turns smooth and supple when you stir it again.
Step 3
Heat the oven to 180°C, line two baking sheets with parchment paper and draw 14 cm lines a few centimeters apart as guides. The guides keep the éclairs the same length so they bake evenly. The oven is ready when the temperature is steady and the sheets are prepared.
Step 4
Put 125 g water, 125 g whole milk, 110 g unsalted butter, 2 g salt and 5 g granulated sugar in a saucepan and heat over medium heat until the butter melts and the mixture comes to a rolling boil. Turn off the heat, immediately add 150 g all-purpose flour and stir hard with a spatula. When the flour meets the boiling liquid its starch gelatinizes, building a structure that traps steam and makes the shells puff up hollow. The dough is ready when it comes together into a smooth mass with no dry flour left.
Step 5
Turn the heat back on low and keep stirring the dough for about two minutes, pressing it against the bottom of the pan and turning it over. This drives off some of the moisture so the dough can absorb more egg. It's ready when a thin film forms on the bottom of the pan and the dough looks slightly glossy.
Step 6
Transfer the dough to a bowl, beat on low speed for a minute to cool it slightly, then add 240 g beaten eggs a little at a time, beating well after each addition. Adding the eggs gradually lets you control the consistency, since you won't always need all of them. The dough is ready when it's glossy and smooth and hangs from the beater in a V shape when lifted.
Step 7
Spoon the dough into a piping bag fitted with a large star tip, hold the bag at about a forty-five-degree angle and pipe along the guides with steady pressure, stopping the squeeze at the end of each one and flicking the tip away. The ridges from the star tip help the shells puff evenly without random cracks. The strips are right when they're evenly thick, straight and about two and a half centimeters wide.
Step 8
Bake at 180°C for about 30 to 35 minutes and don't open the oven door for the first twenty minutes. Steady heat lets the shells puff up and then dry out firm, while opening the oven too early makes them collapse instantly. The shells are done when they're evenly golden brown, the ridges have darkened too and they feel feather-light when you pick one up.
Step 9
Move the shells to a rack and let them cool for about twenty minutes. The shells need to be fully cool to stay crisp when they meet the cold cream. They're ready when they feel cool to the touch and still firm.
Step 10
Use a pointed skewer to poke three small holes in the bottom of each shell, spoon the whisked-smooth chocolate cream into a piping bag with a small round tip and pipe it in through each hole. Filling from several points makes sure the cream reaches the whole length of the éclair. They're filled when they feel heavy in your hand and a little cream peeks out of the last hole.
Step 11
Bring 100 g heavy cream and 15 g corn syrup just to a boil, pour it over 100 g finely chopped dark chocolate, let it sit for a minute, then stir from the center outward. Corn syrup keeps the glaze shiny and stops it from cracking as it sets. The glaze is ready when it's smooth, mirror-glossy and still warm at about 32°C.
Step 12
Holding each éclair upside down, dip the top into the glaze, lift it out to let the excess drip off, then wipe the edges clean with a fingertip. Then refrigerate the éclairs for about fifteen minutes to set the glaze. Wiping the edges gives a neat, tidy chocolate line. They're finished when the glaze is dry to the touch, shiny and doesn't stick to your fingers.
Equipment
- Oven
- Small saucepan
- Hand mixer
- Spatula
- Whisk
- Sieve
- Piping bag
- Baking sheet
- Parchment paper
- Kitchen scale
- Wire cooling rack
- Refrigerator
Tips
- If the choux dough is still stiff after using all the eggs, you can add a little more beaten egg until it hangs from the beater in a V shape.
- Unfilled shells can be frozen for up to two weeks; before using, reheat them at 170°C for about five minutes to crisp them up.
- If the chocolate glaze cools and thickens, just warm it over a water bath for a few seconds and it's ready to use again.
Storage
Filled éclairs must be kept in the fridge and are best eaten within two days. The shells gradually soften as they absorb moisture from the cream, so they're at their best when filled only a few hours before serving.
Common problems and how to fix them
- The shells collapsed after coming out of the oven.
- The shells weren't dry enough or the oven was opened too early. Bake them five to seven minutes longer until they're a bit darker, and keep the oven door closed for the first twenty minutes.
- The shells split open and lost their shape.
- The dough was too stiff or was piped with a plain round tip. Add a little more egg to soften the dough and use a star tip so the shells puff evenly.
This recipe is based on the common ratios for this bake and is written entirely in our own words.