Baked cheese tarts
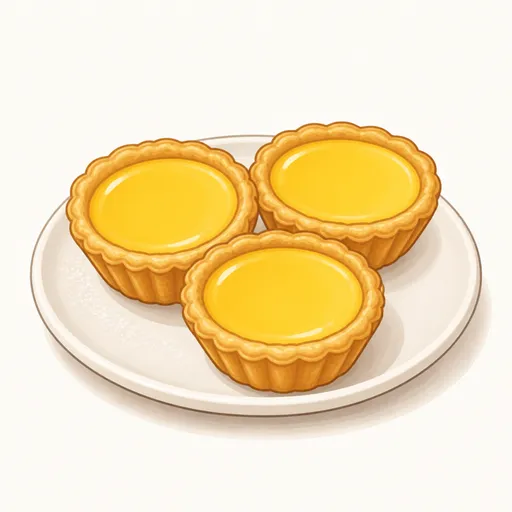
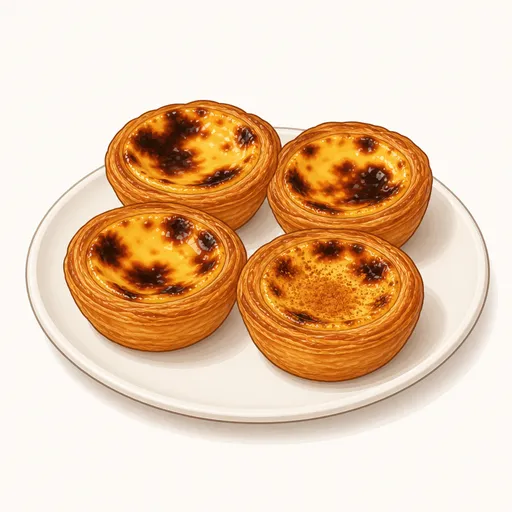
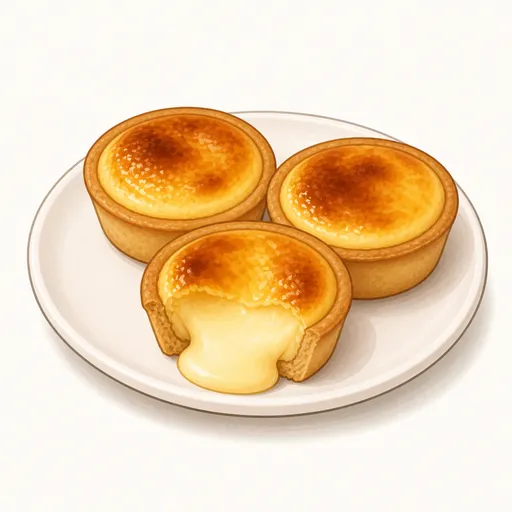
Hokkaido-style baked cheese tarts have a crisp, fragrant buttery milk cookie shell and a molten cream cheese filling that is as soft as mousse straight out of the oven. The tops are brushed with egg yolk and flash-baked at high heat for an irresistible golden, singed finish. Eaten warm, the filling is runny and luscious; chilled, it turns smooth like cheesecake.
- Difficulty
- Medium
- Prep
- 45 min
- Cook
- 25 min
- Rising or chilling
- 1 hr 5 min
- Total time
- 2 hr 15 min
- Method
- Oven-baked
Ingredients
Cookie shells
Cheese filling
Egg yolk glaze
Instructions
Step 1
Beat 75 g softened unsalted butter with 30 g powdered sugar and a pinch salt, add 25 g eggs, then sift in 150 g all-purpose flour and 10 g milk powder and mix with a flat spatula until the dough comes together. Milk powder gives the shells their signature milky aroma and a beautiful golden color when baked. The dough is ready when it is smooth, a little soft and no longer sticks to the sides of the bowl.
Step 2
Wrap the dough and refrigerate it for about thirty minutes. Soft, buttery dough needs to be cold so you can divide it and press it into small molds without it sticking to your fingers. It is ready when it is firm enough to roll into balls.
Step 3
Divide the dough into twelve equal balls, place each one in a small tart mold of about 7 cm and use your fingers to press the dough evenly up the sides, trimming off any excess above the rim. Thin, even shells bake at the same rate and keep a good balance of filling to crust. Each shell is right when it is about three millimeters thick and the sides reach the top of the mold.
Step 4
Prick the bottom of each shell with a fork, set the molds on a tray and freeze for twenty minutes. Shells that are frozen firm will not slump to the bottom when they hit the heat. They are ready when they feel hard to the touch.
Step 5
Preheat the oven to 180°C with a rack in the middle. Moderate heat bakes the shells golden without cracking them before the filling goes in. The oven is ready when the heating light goes off.
Step 6
Bake the shells at 180°C for 12 to 15 minutes; if the bottoms puff up, press them down gently with a spoon as soon as they come out, then raise the oven to 230°C. The shells are fully baked at this stage because the next bake is very short and only browns the tops. The shells are ready when they are light golden brown, dry and come out of the molds easily.
Step 7
Put 250 g cream cheese, 25 g unsalted butter, 60 g whole milk and 40 g powdered sugar in a saucepan, set it over a water bath or very low heat and stir well. Gentle warming melts the cheese smoothly without scorching or separating. The mixture is ready when the cheese has melted completely and is glossy and smooth with no small lumps.
Step 8
Whisk 50 g eggs with 8 g cornstarch, pour it slowly into the warm cheese mixture, add 8 g lemon juice and keep stirring over low heat for another minute or two. Lightly cooking the filling thickens it just enough to pipe into mounds on the shells. The filling is ready when it is as thick as Greek yogurt and leaves a clear trail when you drag the whisk through it.
Step 9
Spoon the filling into a piping bag, snip an opening about one centimeter wide and pipe it into each shell in a round mound slightly higher than the rim. A piping bag divides the filling evenly and gives a smooth, rounded top. Each tart is right when the filling covers the whole shell and rises into a gentle dome.
Step 10
Beat 18 g egg yolks and brush two thin coats over the filling, waiting for the first to set slightly before adding the second. The yolk creates the signature golden, singed top when it meets the high heat. The tops are ready when they are evenly glossy orange-yellow with no drips.
Step 11
Bake the tarts at 230°C for 5 to 7 minutes, staying by the oven to watch because the color changes very quickly. A short blast of high heat scorches the tops golden while the filling inside stays soft and runny. They are done when the tops have dark brown singed spots and the filling has puffed slightly.
Step 12
Let the tarts rest in their molds for about fifteen minutes before unmolding, then eat them warm for a molten filling or chill them for a dense, smooth one. The rest lets the shells firm up so they do not break when you take them out. They are ready when the shells release easily and the filling has settled back down flat.
Equipment
- Oven
- Tart pan
- Small saucepan
- Spatula
- Whisk
- Piping bag
- Rolling pin
- Kitchen scale
- Pastry brush
- Refrigerator
Tips
- You can add a little mozzarella or cheddar to the filling for a savory richness and a slight cheese pull.
- Reheating chilled tarts in a 180°C oven for about five minutes makes the filling soft and runny almost like freshly baked.
- If you have no small tart molds, use a muffin tin and press the shells a little thinner on the bottom.
Storage
Cooled tarts keep in an airtight container in the fridge for three days. Enjoy them cold like mini cheesecakes or reheat them in the oven; avoid the microwave, which softens the shells and can make the filling separate and turn oily.
Common problems and how to fix them
- The filling cracks or puffs up too much in the oven.
- Too much air was beaten into the filling or the tarts baked too long. Stir the filling gently and take the tarts out as soon as the tops show golden spots.
- The shells shrink and crack during the first bake.
- The dough was overworked or not cold enough before baking. Mix the dough only until it comes together, chill the shells in the freezer and prick the bottoms more thoroughly.
This recipe is based on the common ratios for this bake and is written entirely in our own words.