Japanese no-bake rare cheesecake
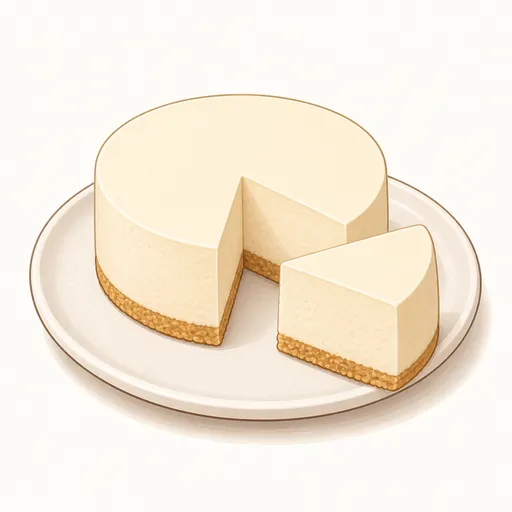
Rare cheesecake is what the Japanese call a no-bake cheesecake, with a light, delicate filling made with yogurt and cream. It is only lightly sweet, gently tangy, cool and silky as it melts in your mouth, nothing like the dense richness of a baked American cheesecake.
- Difficulty
- Easy
- Prep
- 30 min
- Cook
- 5 min
- Rising or chilling
- 5 hr
- Total time
- 5 hr 35 min
- Method
- No cooking
Ingredients
Cookie crust
Cheese filling
Instructions
Step 1
Mix 100 g digestive biscuit crumbs with 50 g melted unsalted butter, spread it into a 15 cm springform pan, press it down firmly with the bottom of a glass and chill it in the fridge. A cold, firm base holds up the soft filling without sinking. The crust is ready when it is evenly thick, packed firmly right to the edges and has no loose crumbs.
Step 2
Sprinkle 5 g powdered gelatin over 25 g cold water, swirl gently so all of it is submerged and leave it for five minutes. Well-hydrated gelatin sets the filling smoothly, with no grainy bits. It's ready when it looks clear and swollen.
Step 3
Let 200 g cream cheese soften at room temperature, then whisk it with 60 g granulated sugar until completely smooth. Soft cheese keeps lumps out of the filling, because any lumps now will still be there once it sets. The mixture is ready when it is glossy and smooth and the sugar has dissolved.
Step 4
Add 100 g plain unsweetened yogurt and 15 g lemon juice to the cheese and stir gently to blend. The yogurt and lemon give rare cheesecake its signature clean tang. The mixture is ready when it is smooth and saucy with no white streaks of yogurt left.
Step 5
Melt the gelatin in the microwave for about ten seconds, stir in two spoonfuls of the cheese mixture, then pour it all back into the bowl and stir well. Tempering the gelatin with a little filling first keeps it from seizing into strings. The mixture is ready when it is uniform and you can't see any strands of gelatin.
Step 6
Whip 200 g whipping cream for only about two minutes, until it thickens to the consistency of drinkable yogurt. Lightly thickened cream keeps the filling smooth and meltingly soft, just the texture a Japanese rare cheesecake should have. It's ready when the cream falls from the whisk in a slow ribbon that leaves a faint trail on the surface.
Step 7
Pour the cream into the cheese mixture, fold gently with a spatula, then strain it through a sieve onto the crust. Straining is the step that gives the top its creamy, flawless finish. The filling is ready when it pours in a silky stream and levels itself in the pan.
Step 8
Tap the pan gently to bring any air bubbles to the surface, cover it and chill for about five hours. The light filling needs time for the gelatin to bind it so the cake slices cleanly. It's set when the top no longer looks wet and feels springy to the touch.
Step 9
Wrap a hot towel around the ring of the pan for about a minute, unclip the ring, then slice the cake with a knife dipped in hot water. The warmth releases the sides smoothly, and a warm knife gives crisp cut edges. You're done when the sides stand straight and the cut faces are smooth and evenly ivory.
Equipment
- Springform pan
- Hand mixer
- Whisk
- Spatula
- Sieve
- Kitchen scale
- Mixing bowl
- Microwave
- Refrigerator
Tips
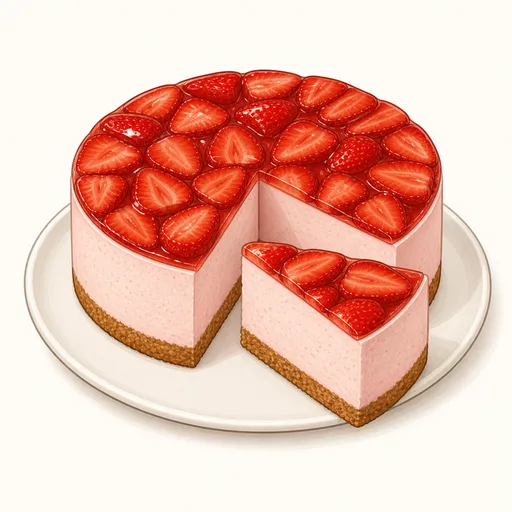
- For a pop of color, top the cake with a thin layer of fruit jelly or a few strawberries.
- If you like a stronger cheese flavor, replace half of the yogurt with cream cheese.
- Unsweetened yogurt gives you better control over the sweetness than sweetened yogurt.
Storage
Covered, the cake keeps for three days in the fridge. You can freeze individual slices for up to two weeks and thaw them in the fridge before serving.
Common problems and how to fix them
- The filling hasn't set and is still runny after five hours.
- The gelatin didn't fully melt or the cream was underwhipped. Make sure the gelatin is completely liquid before you mix it in, and chill the cake overnight.
- The filling has tiny specks of cheese in it.
- The cream cheese was still cold when you beat it. Let it soften fully at room temperature and strain the filling before pouring it in.
This recipe is based on the common ratios for this bake and is written entirely in our own words.