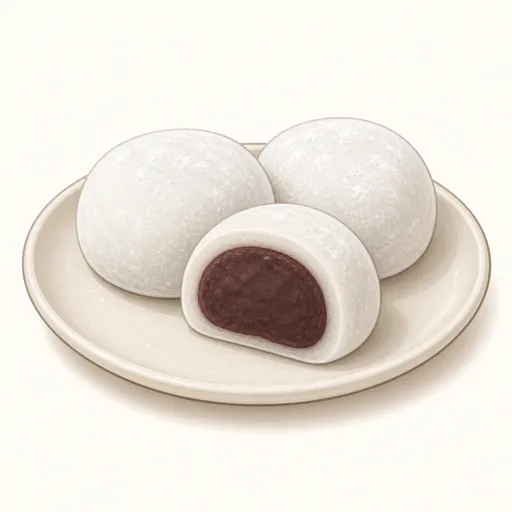
Daifuku mochi
Daifuku is a traditional Japanese mochi with a thin, soft, chewy rice skin that feels cool in your hand, wrapped around a ball of sweet red bean paste. The skin is steamed and then worked while still hot, making it wonderfully chewy and smooth, and it needs only a light dusting of starch to keep it from sticking.
- Difficulty
- Easy
- Prep
- 30 min
- Cook
- 20 min
- Rising or chilling
- 15 min
- Total time
- 1 hr 5 min
- Method
- Steamed
Ingredients
Mochi skin
Filling
Dusting starch
Instructions
Step 1
Divide 240 g sweet red bean paste into eight equal portions, roll each into a ball, arrange them on a plate and refrigerate. A cold, firm filling is much easier to wrap than a soft one. The filling is ready when the balls are nicely round, not sticky and hold their shape when set down.
Step 2
Put 100 g glutinous rice flour and 40 g granulated sugar in a heatproof bowl, then slowly pour in 150 g water while stirring constantly. Adding the water gradually helps the flour dissolve evenly without lumps. The mixture is ready when it is smooth and runny like thinned condensed milk, with no flour left at the bottom of the bowl.
Step 3
Cover the bowl with a cloth or plate so condensation doesn't drip in, then steam over high heat for about twenty minutes, uncovering once halfway through to stir well. Stirring halfway helps the center cook as evenly as the dough near the sides. The dough is cooked when it turns from opaque white to slightly translucent and thick and sticky, with no raw white streaks.
Step 4
Wet a spatula, then stir hard and smear the hot dough against the side of the bowl for about two to three minutes. Working the dough while it's hot makes the skin chewier, smoother and more elastic. The dough is ready when it is glossy and stretches into a long ribbon without breaking.
Step 5
Sift a thick layer of to taste potato starch onto a clean tray, turn the rice dough out onto it and sprinkle more starch over the top. The dusting keeps the skin from sticking to your hands and the tray. You can continue when the surface of the dough is dry and no longer sticky to the touch.
Step 6
Let the dough cool until you can handle it, then cut it into eight equal pieces with a knife or scissors dipped in starch. Dividing evenly gives each piece a skin of the same thickness, so the mochi look neat. The pieces are ready when they are roughly the same size and the cut edges don't stick back together.
Step 7
Press a piece of dough into a flat circle with the edges thinner than the center, place a ball of filling in the middle, then stretch the edges up to cover it and pinch the seam firmly closed at the bottom. Thin edges keep the seam from getting bulky when gathered. The mochi is ready when it is evenly round, no filling shows and the seam sits neatly underneath.
Step 8
Arrange the mochi seam side down on a plate, brush off the excess starch from the tops with a dry brush and enjoy them the same day. Brushing off the extra starch makes the skin silkier to bite into. They're at their best when the skin is still soft, giving under a light press and slowly springing back.
Equipment
- Steamer
- Mixing bowl
- Spatula
- Kitchen scale
- Plastic wrap
Tips
- If you don't have potato starch, use cornstarch or roasted glutinous rice flour for dusting.
- You can tuck a small strawberry into the center of the red bean ball to make ichigo daifuku, a much-loved strawberry mochi.
- To keep the skin soft longer, add a little more sugar, since sugar slows down the hardening of the rice skin.
Storage
Daifuku are best on the day they're made; wrap each one in plastic wrap and keep them in a cool spot at room temperature. The rice skin hardens in the fridge, so if you need to keep them longer, freeze them for up to two weeks and thaw at room temperature for about an hour.
Common problems and how to fix them
- The skin sticks to your hands and won't wrap around the filling.
- The dough is still too hot or there isn't enough dusting starch. Wait for the dough to cool a little, dust more starch on your hands and the tray, and work faster.
- The skin tears while you stretch it around the filling.
- The filling is too big or the edges were stretched too thin. Make the filling portions a little smaller and thin out only the edges, keeping the center thicker to support the filling.
This recipe is based on the common ratios for this bake and is written entirely in our own words.