Tuiles
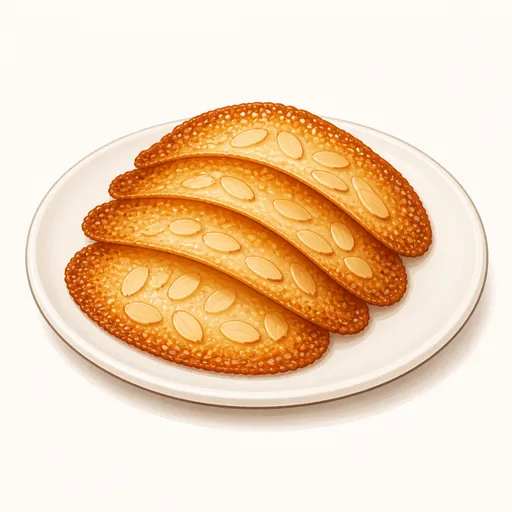
Tuiles are paper-thin French cookies curved while still hot so they look like the clay roof tiles they're named after. They're crisp and fragrant with butter and sliced almonds, and they're often used to decorate ice cream or mousse, or enjoyed alongside coffee.
- Difficulty
- Medium
- Prep
- 15 min
- Cook
- 24 min
- Rising or chilling
- 30 min
- Total time
- 1 hr 9 min
- Method
- Oven-baked
Ingredients
Instructions
Step 1
Melt 50 g unsalted butter completely over low heat, then take it off the heat to cool a little. Butter that's too hot will cook the egg whites and make the batter lumpy. The butter is ready when it's clear and golden and feels only slightly warm when dripped on your wrist.
Step 2
Whisk 60 g egg whites with 60 g powdered sugar, 2 g vanilla extract and a pinch salt, sift in 50 g all-purpose flour, then pour in the melted butter and finally stir in 40 g sliced almonds. Stir only until combined without whipping, so the cookies bake thin and flat. The batter is ready when it's as smooth and thick as yogurt and nicely glossy.
Step 3
Cover the bowl and let the batter rest in the fridge for about 30 minutes. This gives the flour time to absorb the liquid, so the batter thickens and spreads thin without holes. It's ready when it has thickened and flows slowly in a thick stream when scooped.
Step 4
Heat the oven to 180°C, line a baking sheet with parchment paper and set a rolling pin near the oven. The cookies have to be curved a few seconds after they come out, so everything needs to be within reach. The oven is ready when the heating light is off and your shaping tools are set up.
Step 5
Drop teaspoonfuls of batter onto the baking sheet and use the back of the spoon to spread each into a thin round about 8 cm across, making only five or six per sheet. The thinner and more even the batter, the crisper the cookies and the more evenly they brown. The rounds are ready when they're so thin you can almost see the parchment through them.
Step 6
Bake one sheet at a time at 180°C for 6 to 8 minutes, watching closely from the five-minute mark. Because the cookies are so thin, just half a minute more can take them from golden to burnt. They're ready when the outer edges are a deep golden brown and the centers are pale gold.
Step 7
Lift each cookie while it's still hot with a thin spatula, lay it over the rolling pin and press gently so it wraps around the pin, holding it for about a minute. The cookies are only pliable for the first few seconds and turn crisp and hard as soon as they cool. They're finished when they hold a tile-like curve and sound crisp when tapped lightly.
Equipment
- Oven
- Baking sheet
- Parchment paper
- Whisk
- Mixing bowl
- Spatula
- Rolling pin
- Kitchen scale
Tips
- If the cookies harden before you can curve them, put the sheet back in the oven for about thirty seconds to soften them again.
- You can cut a circle out of a piece of stiff plastic to use as a stencil for spreading the batter, so the cookies come out even and neat.
- The batter keeps in the fridge for three days, which makes it easy to bake a few cookies whenever you need a garnish.
Storage
Tuiles absorb moisture very easily, so store them right away in an airtight container lined with paper and eat them within three days. If they soften, crisp them up again at 150°C for about three minutes.
Common problems and how to fix them
- The cookies crumble when you curve them.
- The cookies had already cooled and hardened before shaping. Bake fewer per sheet and curve them as soon as they come out of the oven.
- The cookies are soft and chewy once cool.
- The batter was spread too thick or the cookies weren't baked to enough color. Spread the batter thinner and wait until the edges are clearly golden brown before taking them out.
This recipe is based on the common ratios for this bake and is written entirely in our own words.