No-bake lemon bars
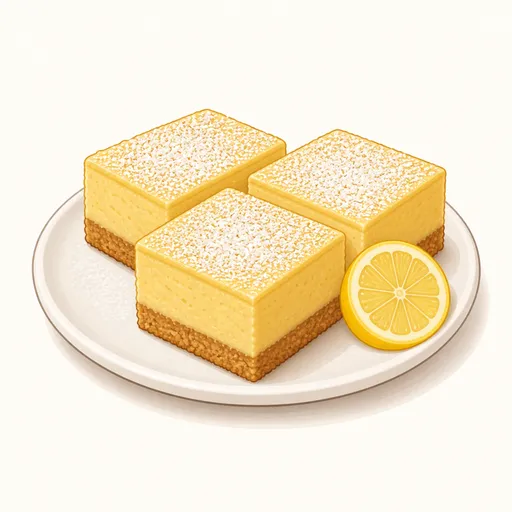
No-bake lemon bars have a crisp, buttery cookie base and a pale yellow lemon filling with a bright sweet-tart flavor. The secret lies in the reaction between lemon juice and condensed milk, which makes the filling thicken on its own in the refrigerator with no eggs or oven needed.
- Difficulty
- Very easy
- Prep
- 20 min
- Cook
- 0 min
- Rising or chilling
- 5 hr
- Total time
- 5 hr 20 min
- Method
- No cooking
Ingredients
Cookie base
Lemon filling
Dusting
Instructions
Step 1
Line a 20 cm square pan with parchment paper, leaving the paper hanging over two opposite sides like handles. The overhang lets you lift out the whole batch to cut into bars easily. The pan is right when the paper lies flat on the bottom and fits snugly into the corners.
Step 2
Mix 200 g digestive biscuit crumbs, 20 g granulated sugar and 90 g melted unsalted butter, spread it in the pan and press it down very firmly and evenly with the bottom of a glass. A well-pressed base keeps sharp, square corners when cut into bars. The base is right when it is flat and firm with no loose crumbs in the corners.
Step 3
Beat 225 g softened cream cheese until light and fluffy, then add 400 g sweetened condensed milk and keep beating on low speed. Beating the cream cheese smooth first keeps lumps out of the filling once the condensed milk goes in. The mixture is right when it is ivory white, smooth and evenly thick.
Step 4
Add 6 g grated lemon zest, then gradually pour in 120 g lemon juice while beating on low speed. The acid in the lemon thickens the milk proteins, so the filling sets by itself as it chills. The mixture is right when it has noticeably thickened, turned pale yellow and smells of lemon.
Step 5
Pour the filling over the base, smooth the top with a spatula and tap the pan on the counter a few times. A level top gives bars of even thickness that look lovely on the plate. The filling is right when it covers the base completely, smooth and free of air bubbles.
Step 6
Cover the pan and refrigerate for at least five hours or overnight. The filling needs time in the cold to become as thick and firm as cream cheese. The bars are right when a light press leaves no mark and the filling doesn't run when you tilt the pan.
Step 7
Lift out the whole batch by the paper handles, cut it into sixteen bars with a knife dipped in hot water and wiped clean after every cut, then sift 10 g powdered sugar over the top. A clean, warm knife gives each bar sharp edges without smearing the filling. The bars are right when they stand up straight and the yellow and brown layers are clearly separate.
Equipment
- Square pan
- Hand mixer
- Spatula
- Kitchen scale
- Mixing bowl
- Parchment paper
- Microwave
- Refrigerator
Tips
- Freshly squeezed lemons give a more fragrant, cleaner tartness than bottled lemon juice.
- You can replace some of the lemon juice with lime or passion fruit juice for a change of flavor.
- Dust with powdered sugar just before serving, since it will dissolve into the moist filling if left too long.
Storage
Covered, the lemon bars keep for four days in the refrigerator. You can freeze individual bars for up to a month and thaw them in the refrigerator for about two hours.
Common problems and how to fix them
- The filling is still soft and runny after chilling.
- There wasn't enough lemon juice to thicken the milk, or the chilling time was too short. Use the full amount of lemon juice and chill overnight.
- The base is crumbly and sticks to the parchment.
- There wasn't enough butter to bind the crumbs, or the base wasn't pressed firmly. Press it down hard and chill the base before pouring in the filling.
This recipe is based on the common ratios for this bake and is written entirely in our own words.